A Photographer’s Guide to Mount Rainier
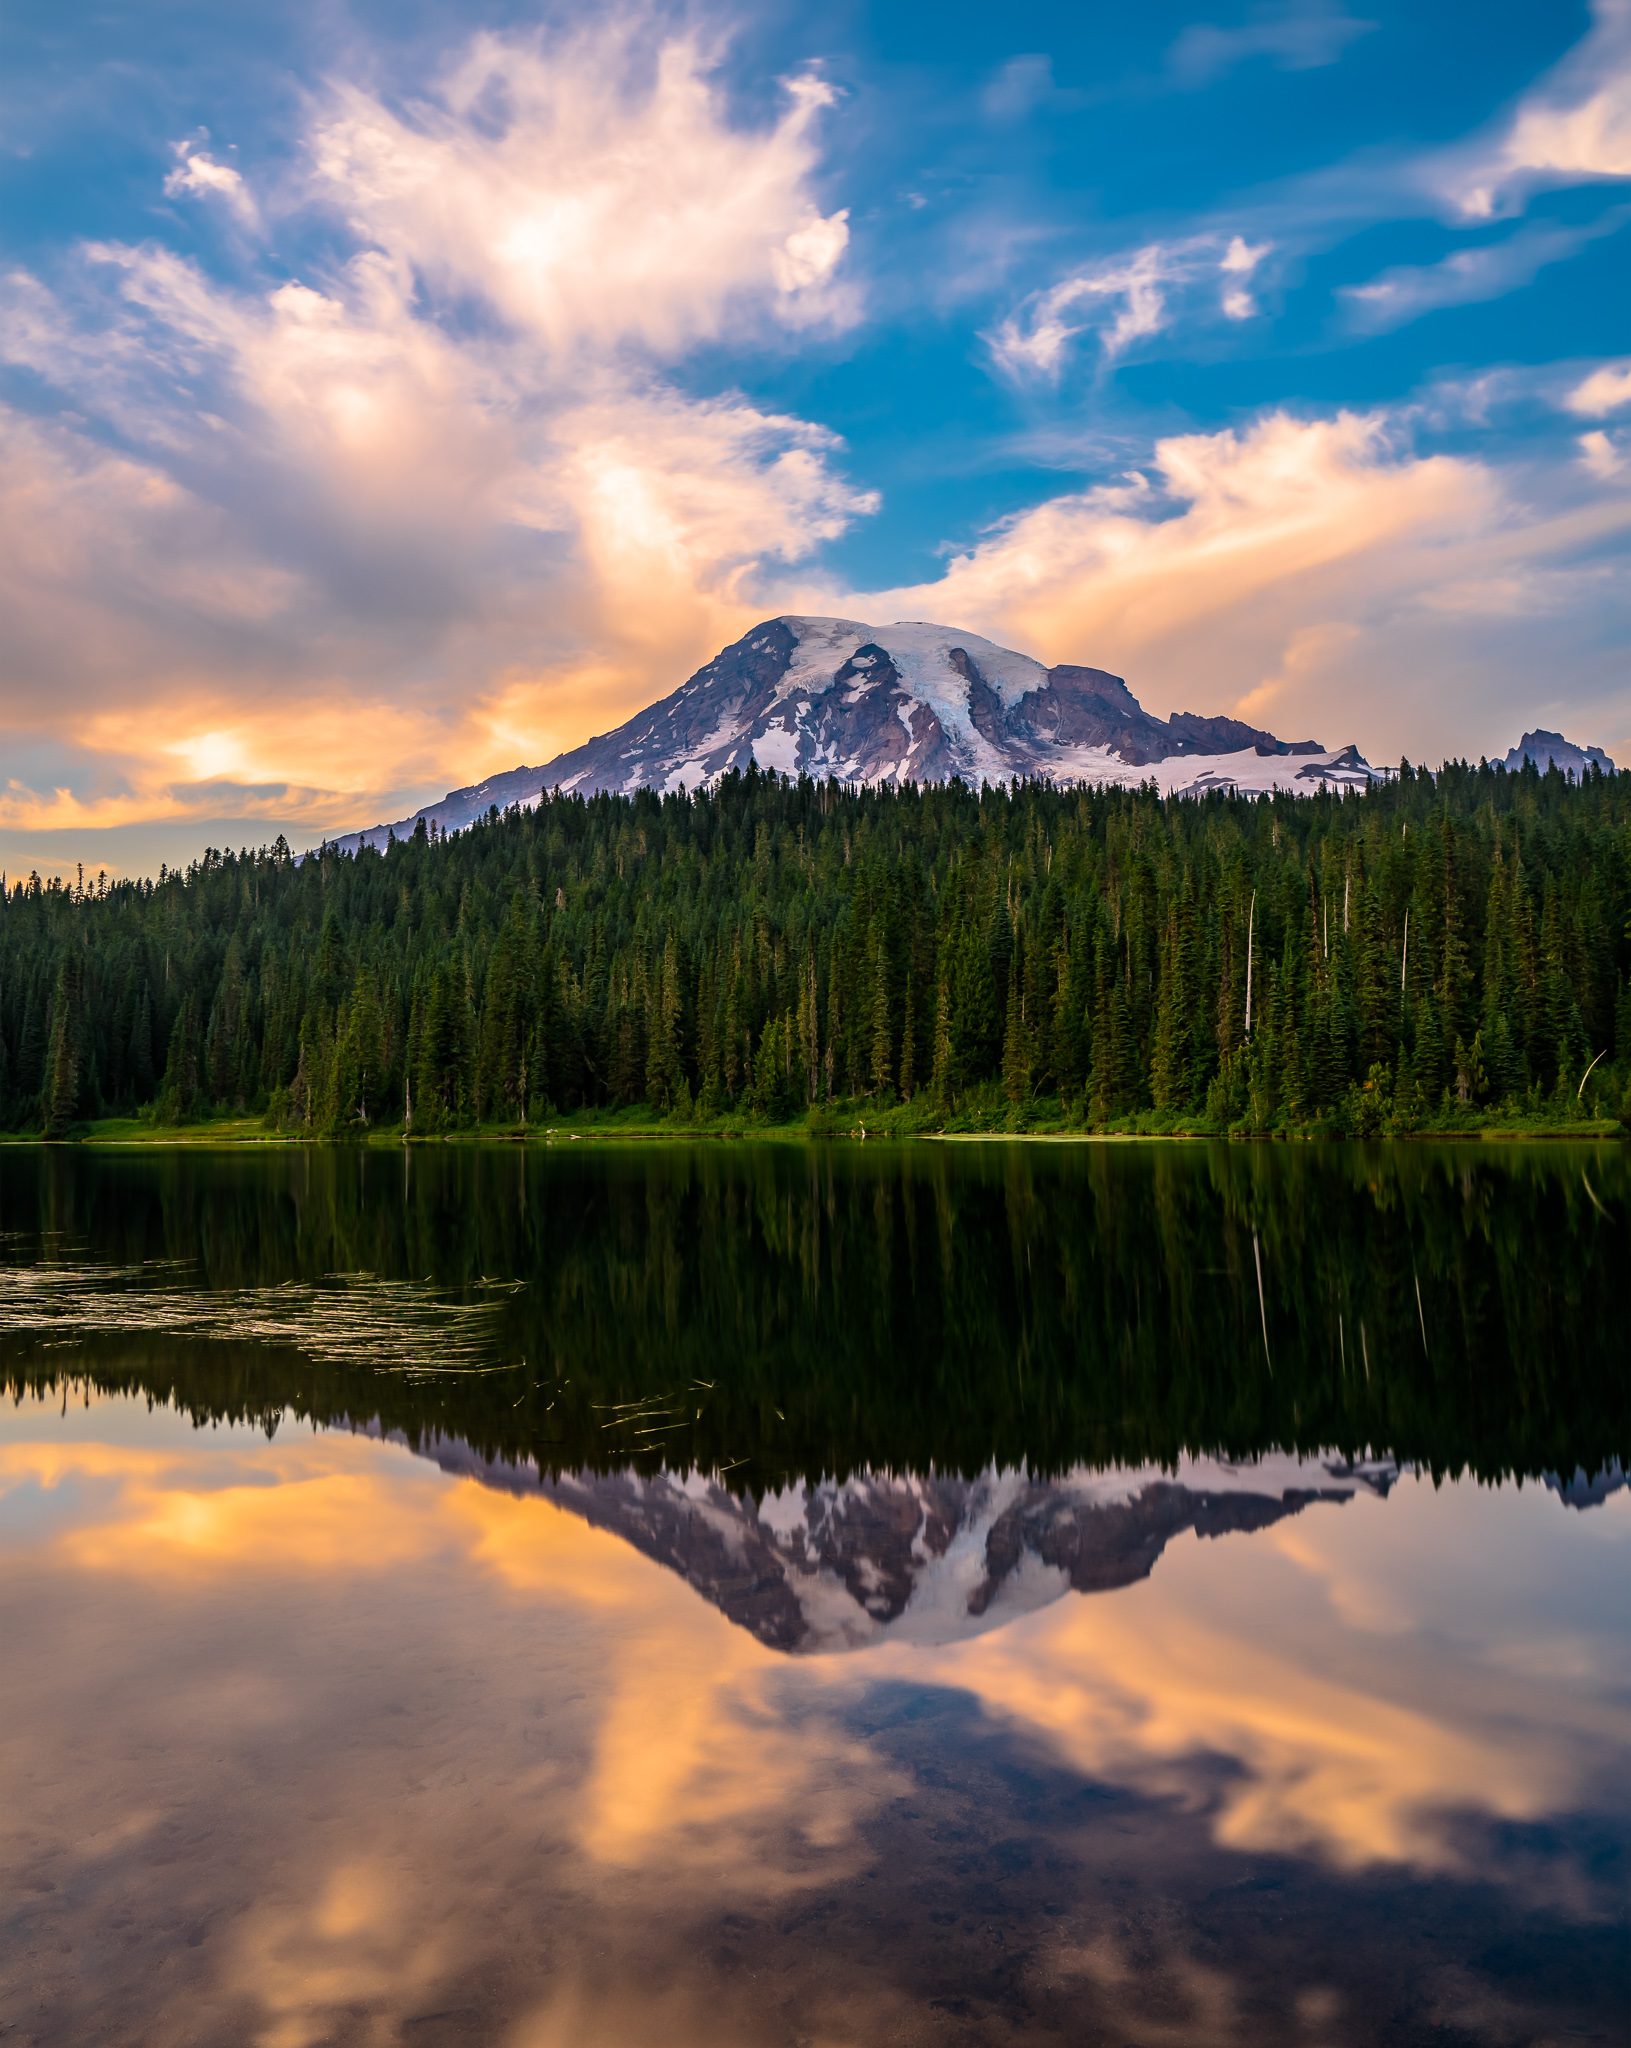
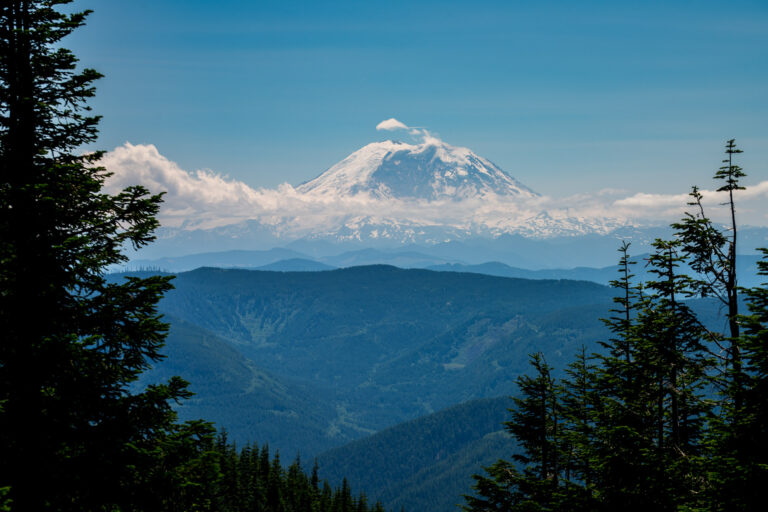
The crown jewel of the Cascades. Mount Rainier towers over the surrounding mountains and stands tall even from hundreds of miles away. Just a couple hours from Seattle, Rainier (along with the Olympics) is usually on the bucket list of Washington visitors. Rainier is my most visited place in Washington – I’ve been to Rainier over 100 times now but have plenty still to explore. However, I’ll try to share what I know and discuss the best locations for capturing this beautiful mountain. Here’s a photography guide for photographers, by a photographer!
If you’re a visual person, jump to the gallery first!
Overview
Mount Rainier National Park is a big park with plenty of locations to shoot from. The usual subject is Mt. Rainier herself but there are plenty of other interesting compositions as well. By road it’s not the largest (only takes around 1.5h – 2h to drive through) but if it’s your first time I would recommend setting aside at least 3-4 days. For out of town visitors, the best time of year would be during the summer months as much of the park isn’t accessible outside of summer.
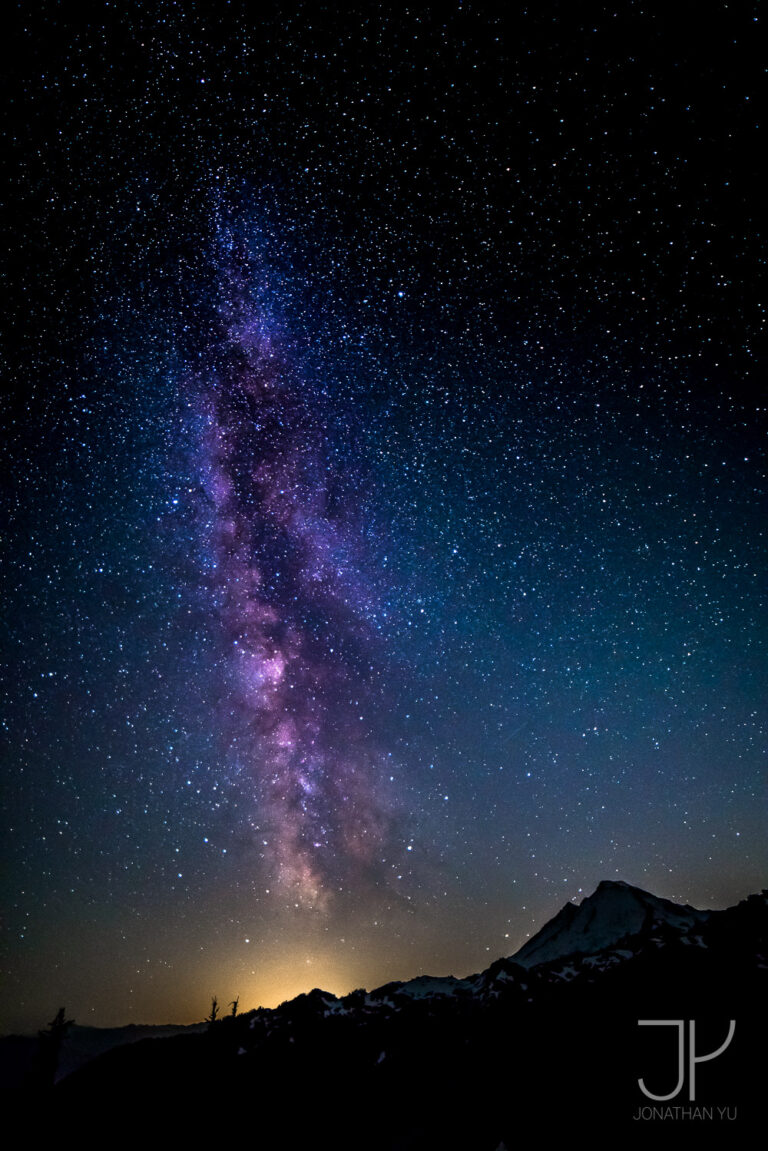
You can expect to shoot subjects such as wildflowers, mountains, wildlife, and the milky way.
If you are visiting from out of state and want a longer trip, you could also plan to visit Olympic National Park, North Cascades National Park, and Mount Saint Helens National Monument.
In this guide I will refer to the park as two different regions (Paradise and Sunrise). This is somewhat correlated with the area around each of those visitor centers. I also like to make this distinction because driving from one to the other is basically crossing through the entire park, so it’s best done as separate regions.
Getting There
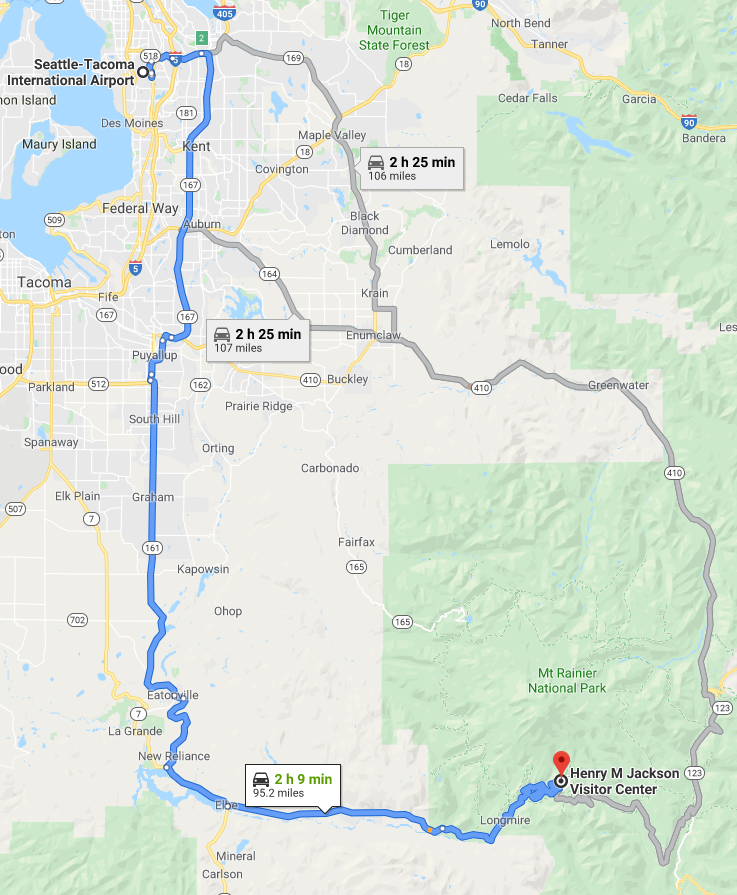
Rainier is just a short 2 hour drive from most of Seattle. It’s visible from the city on clear days and most people are surprised by how large Rainier looks even when in the city.
The park is divided into three sections. Two of them are known distinctly for their visitor centers.
- Paradise (Visitor Center, area open year round)
- Sunrise (Visitor Center, area open summers)
- West side (Primitive, open until first heavy snow)
If you are arriving from Seattle-Tacoma International Airport, then getting into Rainier is pretty straightforward. The drive is pretty uneventful and rarely is there any traffic. There isn’t any gas inside the park so be sure to fill up before entering the park (either in Enumclaw or Ashford). In terms of miles, a single full tank should be enough for 4-5 days within the park if you drive
When To Visit Mount Rainier
The best time to visit is in the summer (July – September). Summer is also the most popular time to visit Rainier. Weekends are often congested and crowded, queues are expected to enter the park on busy weekends. Good news though is that weekdays are much more manageable. The park also empties out as sunset nears. There aren’t many accommodation options within the park so most people are visiting for the day. As a photographer, I will assume you plan to stay overnight!
Early Summer (June – Early July): Least crowded time to visit. You’ll have driving access to the entire park without having to fight for a parking spot. Good time to shoot the milky way as well as capture Rainier when there is still more snow over the mountain and glaciers.
Mid Summer (Mid July – Mid August): Rainier is best known for wildflowers, and many people try to time their trip to coincide with peak bloom. Usually that is late July to early August but is hard to predict. It really depends on when the temps start to warm up and how much rain there is. A cold night or two could really impact the bloom for the year as well.
Late Summer (Mid August – September): Crowds will still be going strong up until the first week of September. Wildflowers may have wilted by now and the park will feel drier. As snow pack in higher elevation melts away, streams and waterfalls will be less magnificent but Rainier stays snow covered year round. Milky Way visibility will still be excellent.
Fall (Late September – November): You’ll get a mix of snow but not much fall colors. Rainier isn’t the best place for fall colors as most of the trees are evergreen. Still a beautiful place to visit and photograph, although many of the roads will be closed due to snow. Expect to be able to drive all the way up to paradise visitor center daily.
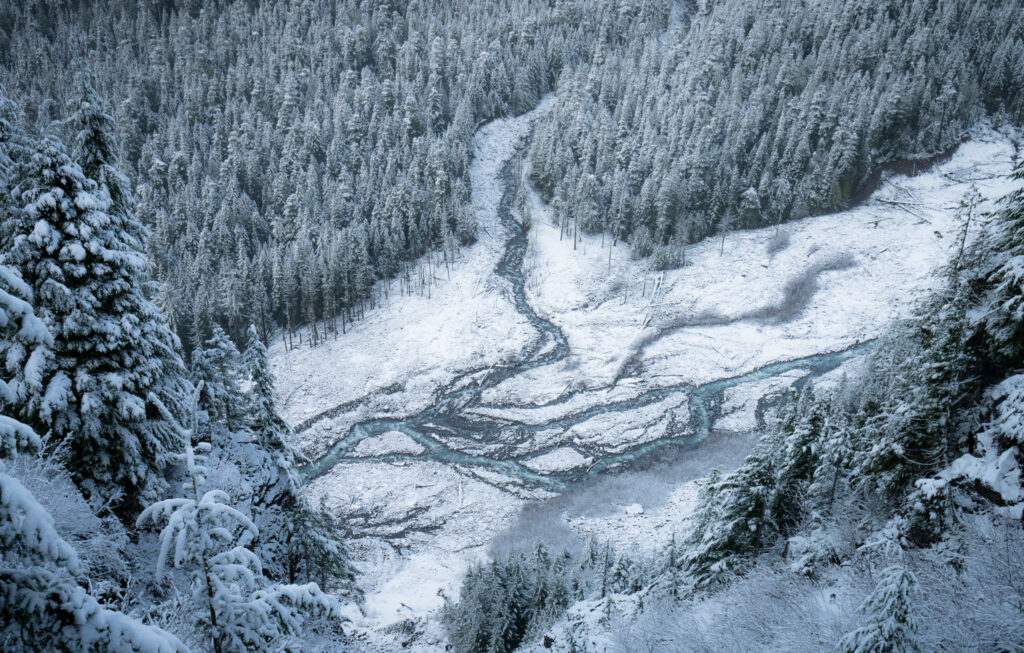
Winter: Depending on how much snow there is you’ll be able to drive up to Paradise Visitor center. They do plow the road to paradise daily when possible. The rest of the park is closed though. At paradise, expect to be confined to areas around the visitor center unless you are ready to traverse the snow via snowshoe or ski. There is going to be tons of snow.
Accommodation
I’ll start by saying the best way to see Rainier is to camp (or backpack)! There are only two lodge-style accommodations inside the park. As photographers you want to stay inside the park for as long as possible, especially for sunrise and milky way shots!
Paradise Area
- Paradise Inn – the only accommodation I consider to be “inside” the park. Only available in summer months. Fills up early to be sure to book ahead of time.
- [Recommended] Cougar Rock Campground – closest campground to paradise area, weekends during summer will fill up quickly so be sure to get a reservation. There are also first-come-first-serve sites available.
Longmire Area
- National Park Inn – located in longmire, which is an area before paradise when entering the park from the south side. A good second choice but is a bit far from much of the park (30-45 minutes)
Sunrise Area
- [Recommended] White River Campground – the ONLY accommodation on the sunrise area of the park! This campground only takes first come first serve so there are no reservations. Have never had an issue finding a spot on weekdays (M-T). If you are arriving Friday then try to come early in the morning. My recommendation would be to plan the trip so that you are seeing sunrise area stuff during the weekday and on weekends you can be in the paradise area. This allows you to get reservations for crowded days.
Places To Shoot
I will cover the places to shoot grouped by region (Sunrise and Paradise).
Sunrise Area
Sunrise is my preferred area of the park. It’s open only for a couple months a year (usually late June to late to September). Milky Way is great from this side of the park and you can get good alignment with the core.
Fremont Lookout Tower
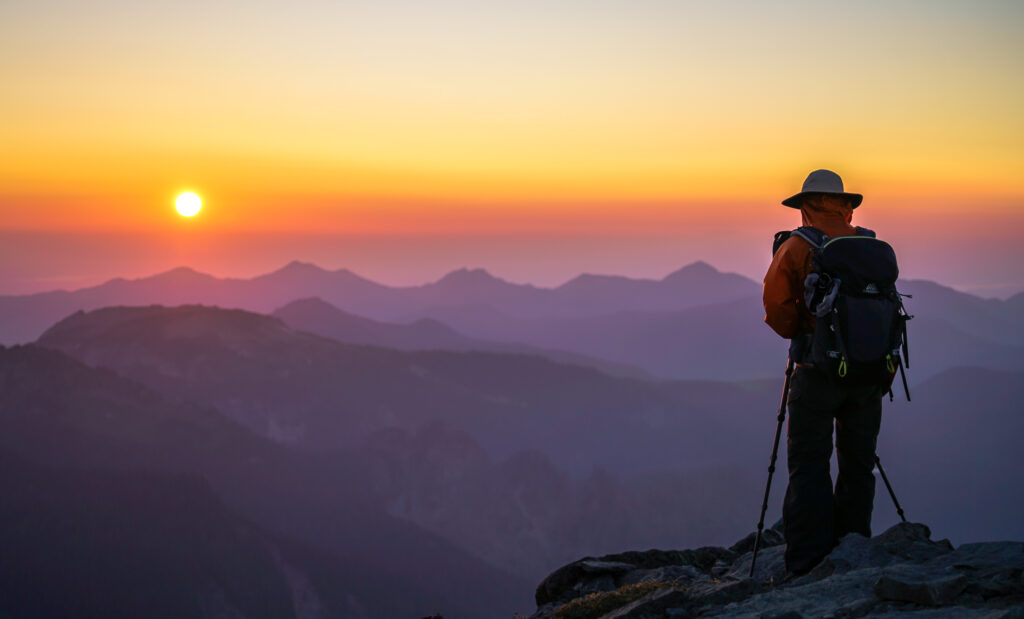
Fremont Lookout Tower is a relatively short 5.6 mile round trip hike that takes you up to an old fire lookout cabin built in 1934. The location gives you sweeping panoramic views of Rainier and the surrounding peaks and meadows. The journey there is also highly scenic and provides views of Rainier and the surrounding Burroughs and meadows on the entire journey. This spot is also suitable for the milky way (but no overnight camping is allowed). This is a popular location for both sunrise and sunset.
Tipsoo Lake
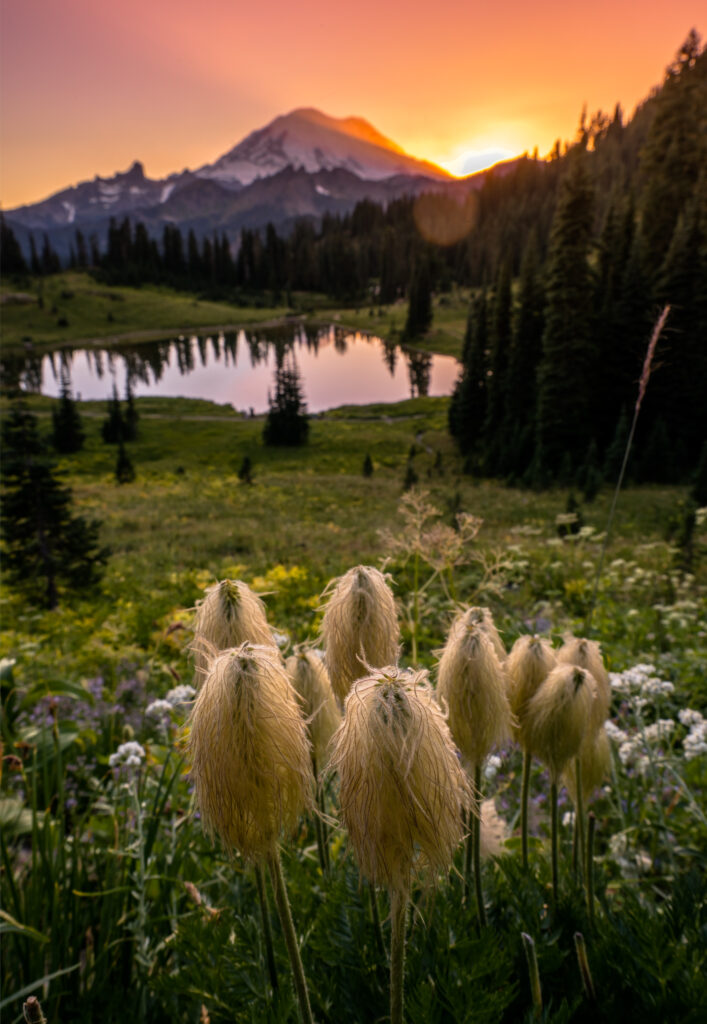
Tipsoo Lake is an easy to access location just off the main road. It’s a popular spot for photographers and a classic “lake and mountain” scene. The lake is great for sunset and sunrise. There is a smaller lake that is hidden from the road but still easily accessible. I like to call this “upper tipsoo lake”. It is located just to the right of the road as you pass Naches peak trail. I prefer the upper lake as it provides more opportunity for foreground, avoids the road/cars in the shot, and also sometimes may have a good reflection of the mountain.
Sourdough Ridge
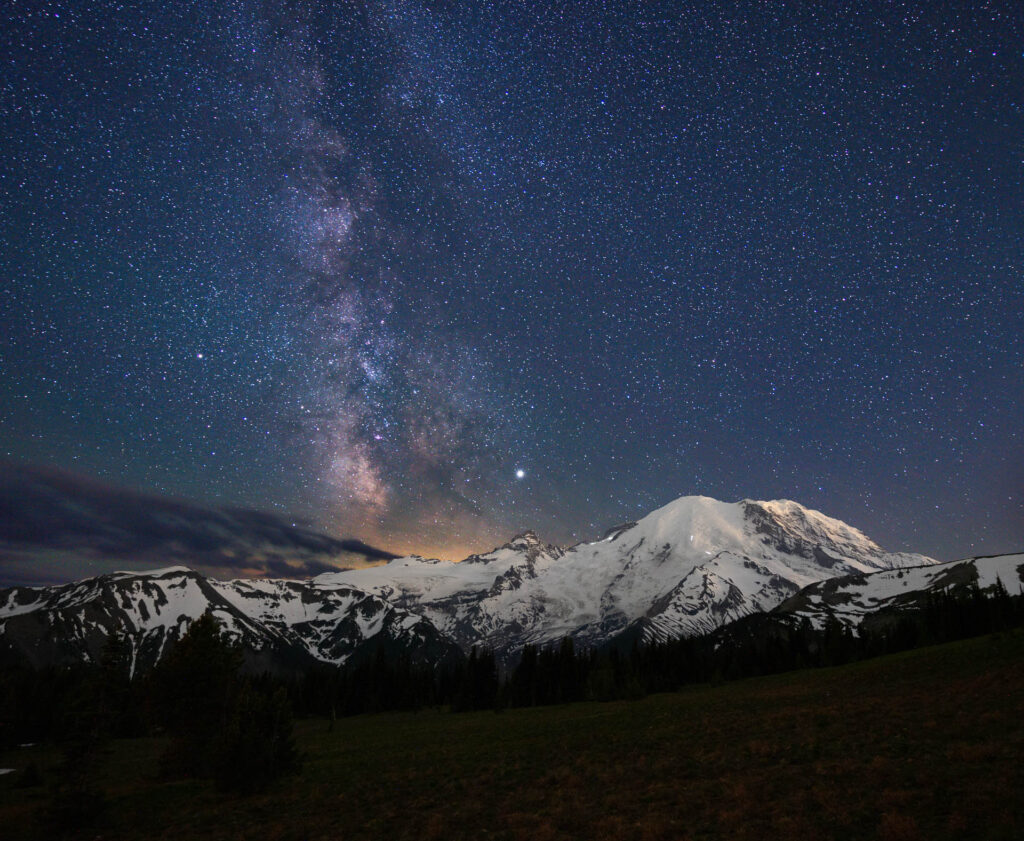
Sourdough Ridge is actually part of the trail to Fremont Lookout Tower. I like to use the ridge for milky way shots. It’s located above the visitor center so you avoid the lights from the parking lot and has clear and unobstructed views of the mountain. You’ll be able to see climbers making their ascent to the summit.
Silverforest Trail
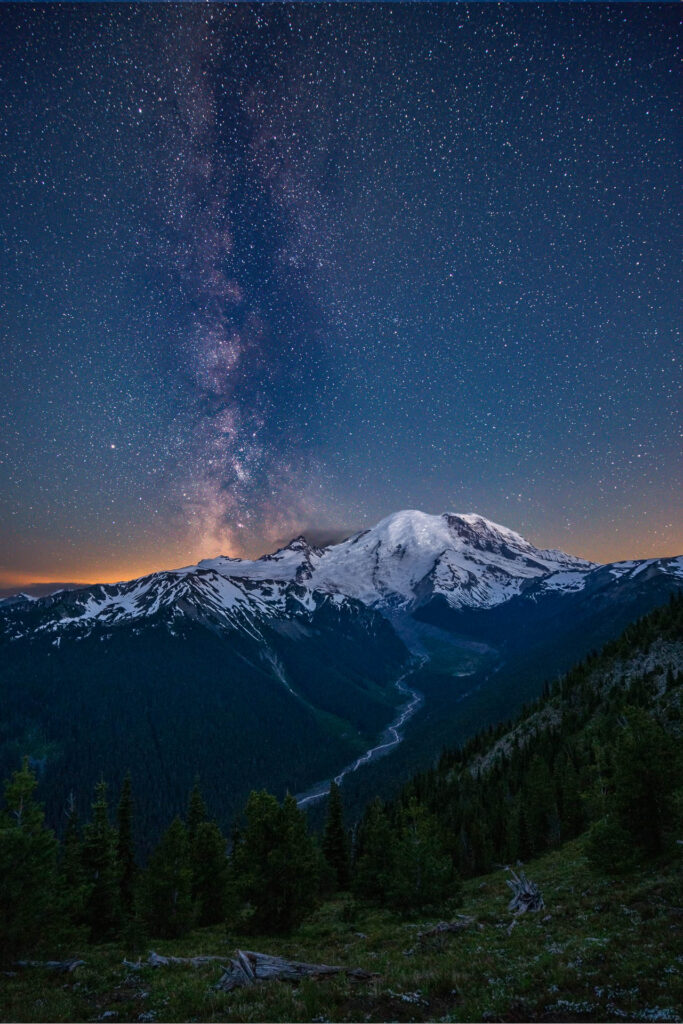
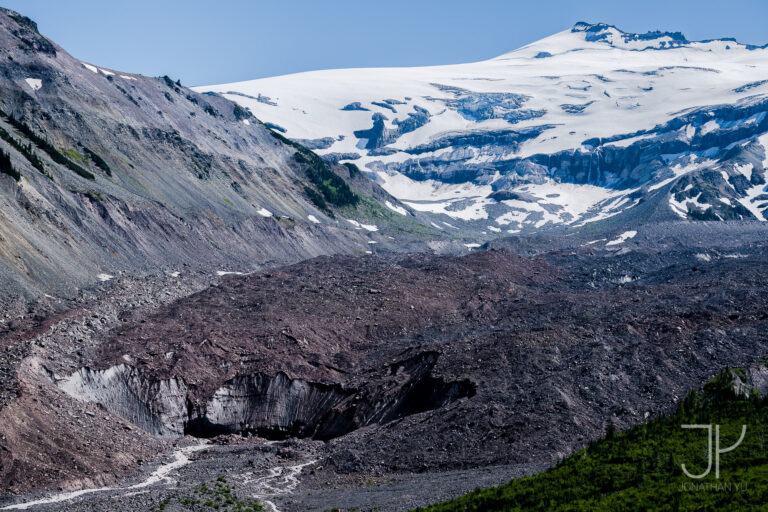
Silverforest Trail is the easiest trail in the sunrise area. However, that doesn’t mean it’s the least scenic. I would say it’s the highest ratio of reward-to-effort. The light trail wanders through the side of the sunrise mountain area and takes you through forested and open vistas that provide view points of Rainier, the white river, Emmons Morraine glacier and the entire valley below. It’s beautiful for sunrise, sunset, and of course the milky way. This trail is also great during wildflower season, be sure to check it out.
Glacier Basin Trail
Glacier Basin Trail is a bit different than most of the other trails. It’s much lower in elevation so you’re in the valley and it takes you along the white river. You’ll have breath taking views of the Emmons Moraine glacier as well as imposing views of Rainier as she stares back down at you. I haven’t tried shooting here during golden hour but I would imagine that it’s best during sunset. A good excursion during a cloudy day as the river and a glacier blue lake makes for interesting photos.
Berkley Park
Berkley Park doesn’t offer panoramic views of Rainier but it does offer a good chance to see wildlife. I’ve seen bears and mountain goats while taking this trail and it’s always a great place for wildflower bloom. It’s a bit lower in elevation so there’s usually plenty of variety in flowers. A good daytime excursion.
Paradise Area
Paradise is the more popular area of the park. It’s open year round (mostly) and has a larger visitor center and more amenities (lodging). It’s great for wildflowers but not the best for astrophotography. The milky way doesn’t align with Rainier, however it does align with the Tatoosh Range but if you are limited on time, I would focus on the sunrise side for milky way instead.
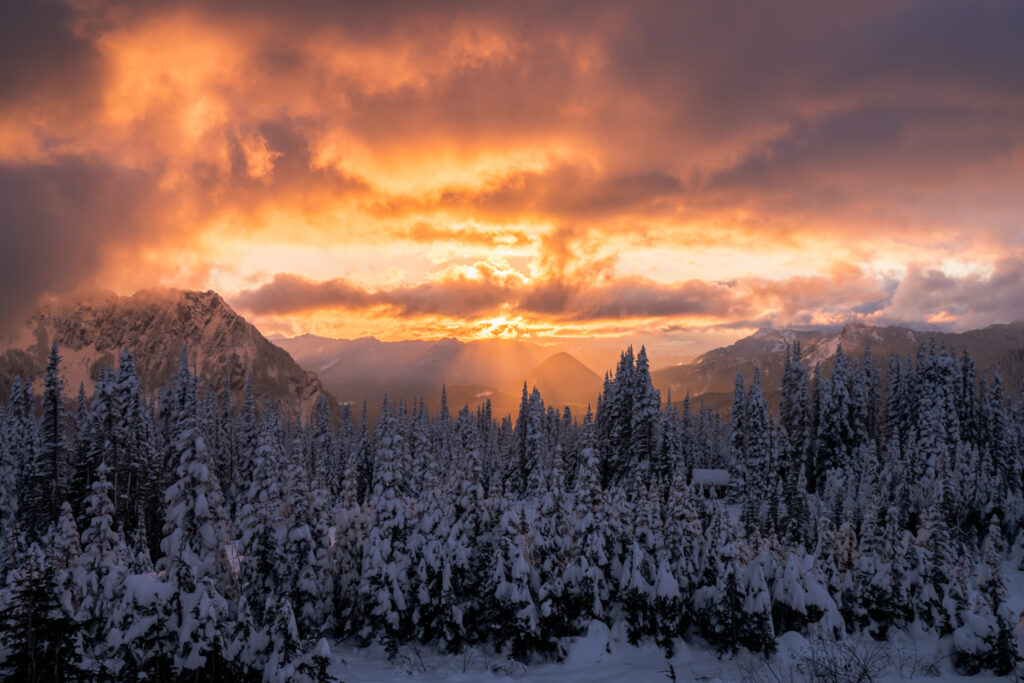
Reflection Lake
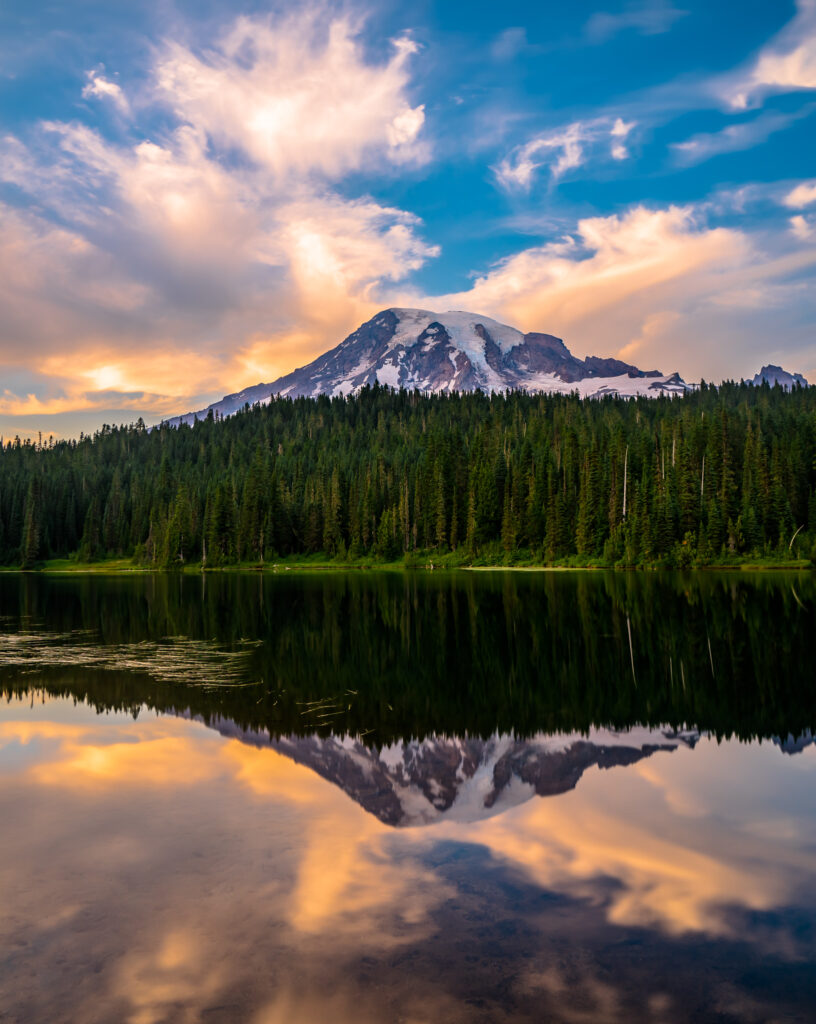
Reflection Lake is a classic. You have probably seen photos of the lake by now, and it’s quite popular. Located just off the main road, reflection lake offers an artists view of Rainier along with a pristine lake with beautiful mirror-like reflections. The best times are during sunrise and sunset. You’ll be more likely to catch a good reflection during sunrise and if you’re lucky you’ll get some early morning fog as well. Be warned though, this spot is popular and can get crowded!
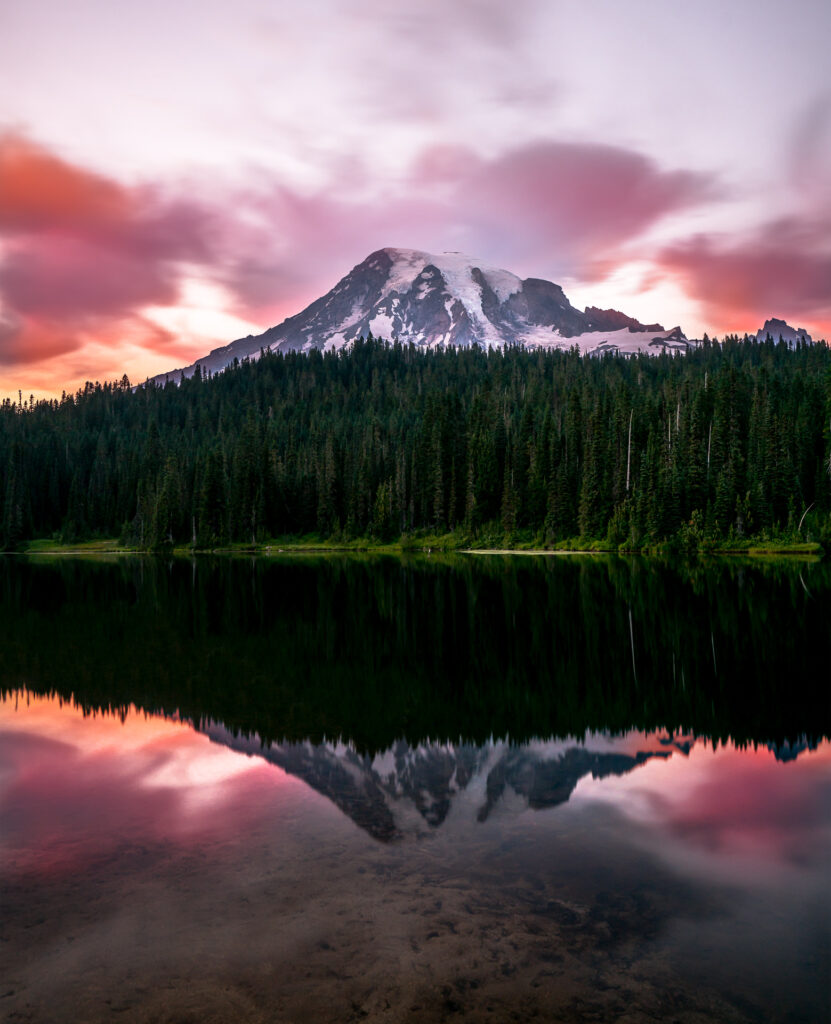
Skyline Trail
Skyline Trail is the most popular trail in the paradise area. It takes you up the mountain towards Rainier and gives you seemingly ‘in your face’ views of the mountain as well as her glaciers. There’s a bit of elevation climb but the landscape changes as well. You go quickly from meadow like areas to craggy mountain terrain that is covered in snow year round. You’ll be treated to panoramic views of the area around as the trees thin out. Directly in front will be Rainier, but if you turn around you’ll see Mt. Saint Helens and Mt. Adams to the south. The light is better during sunrise than sunset. I would look elsewhere for sunsets unless the clouds are good and look like they will bring in color.
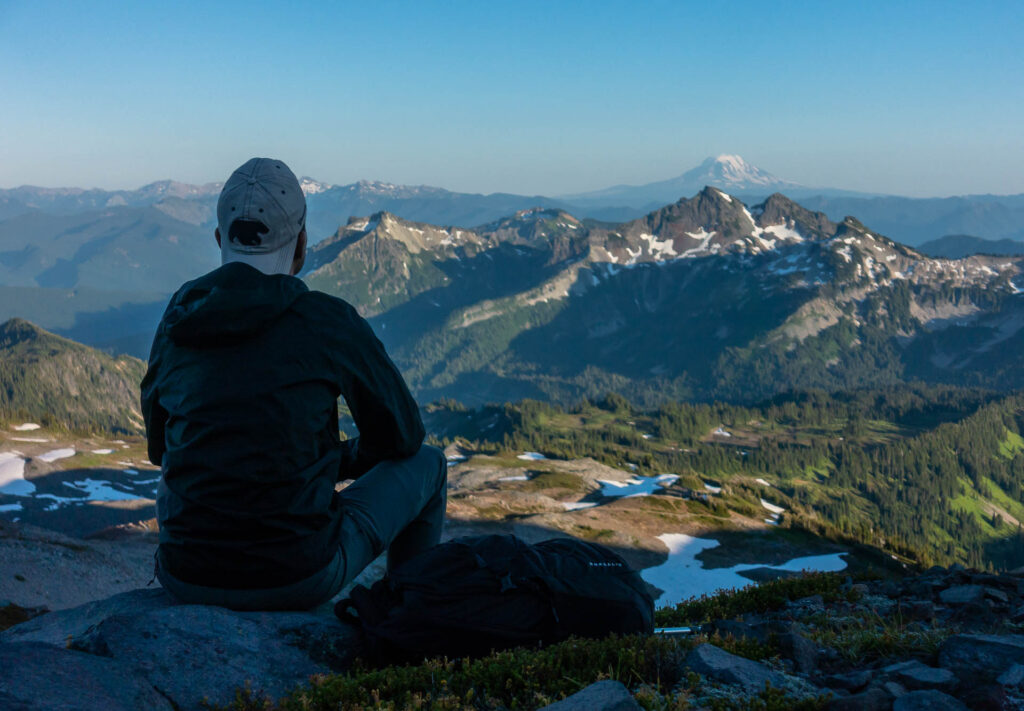
Mazama Ridge
Mazama Ridge is a bit less popular than the famous Skyline Trail but shouldn’t be any less mention-able. In my opinion, Mazama Ridge has a better angle on the mountain. It’s also spectacular for wildflowers. It’s a bit like a meadow and during wildflower season there will be millions of flowers all around you. While the skyline trail also offers great views and wildflowers, the composition and angle from that trail is not as spectacular in my opinion.
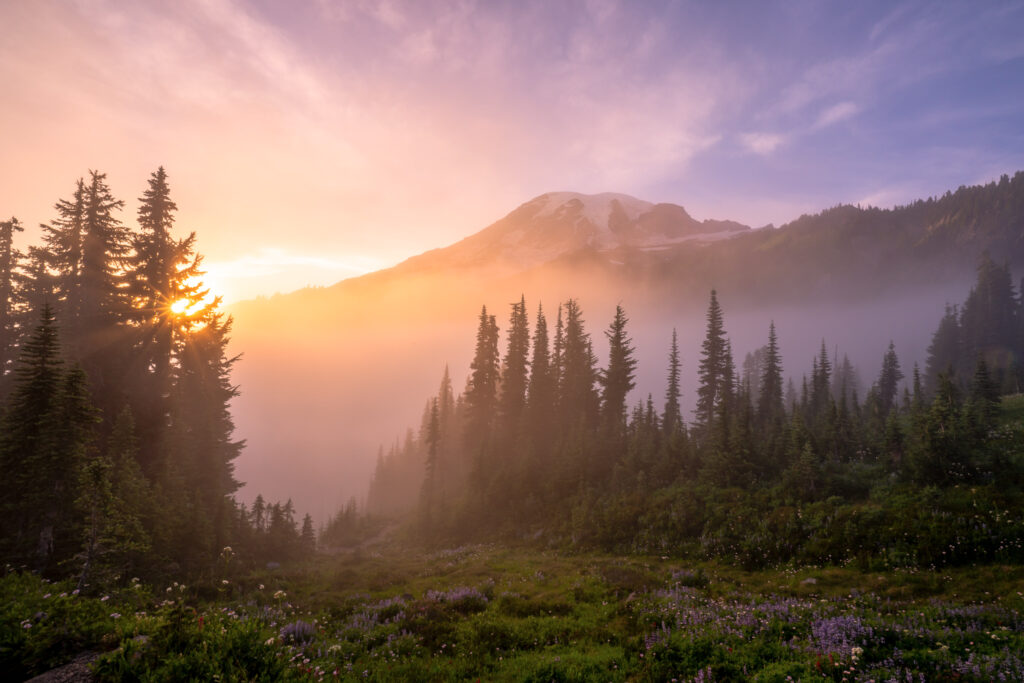
Pinnacle Peak
Pinnacle Peak is another iconic spot. It’s a short hike and easy to get to but offers panoramic views of Rainier from the south side. The trail has a few different compositions ranging from forested, to exposed mountain and rock tarn. Worth checking out before sunset and then you can decide whether you want to stay a bit later to catch the evening glow.
Snow and Bench Lake
Snow and Bench Lake is nearby pinnacle peak and reflection lake. While not the most scenic of hikes, the trail offers two nice destinations, Snow and Bench Lake. Bench Lakes has visibility of Rainier and gives you the opportunity to shoot a different composition than the more popular, Reflection Lake. Snow Lake doubles as a day hike as well as an overnight destination. It doesn’t have views of Rainier but the lake and surrounding Unicorn Peak make for nice landscapes.
Conclusion
Mount Rainier is really a photographers paradise. The wildflowers are dream-like, the milky way visibility is great, and there’s something almost all year round. The park is easily accessible and just a couple hours away from a major airport.
The park gets crowded during summer months so I would recommend coming on weekdays if possible.
Which ever spots you decide to visit, Rainier is magical place. Hope you enjoyed my guide to landscape photography at Mount Rainier national park! Enjoy the mountain and remember to be respect the environment when capturing your beautiful shots! Interested in what gear to bring? Check out my up to date gear list!
I have plenty of photos from Rainier, so if there’s any particular area you want to know more about – feel free to drop a comment and I’ll see what I can do!
Don’t forget to connect with me on Instagram (@xjjon), please share your shots of Rainier with me!
Gallery
Jonathan
Hey there, I’m Jon! I love landscape photography which is why I travel all the time! On my blog I’ll share all the best spots for epic sunsets and sunrises as well as some photography tips and tricks. I also have a interest in game design so you’ll find the occasional post about that too. Thanks for visiting!
Thanks for the info! Beautiful photographs, every one of them. Though I’m no longer up for the strenuous hikes that some of these locations require, I’m sure to get a lot out of the more manageable locations.
Great information and amazing pictures Jonathan.
Thank you for putting such great information to help many photographers. I am heading there in a week and this information is all I need.
Would a monopod with three feet suffice for photographing the Milky Way at the fire lookout on the Fremont Trail?
Not likely. It’s quite windy at night there and you would want it to be perfectly still for a 15-30 seconds.
Would highly recommend a tripod instead. Even a very cheap one will do much better than a monopod!
Thanks for the info