Abraham Lake Photography and Travel Guide
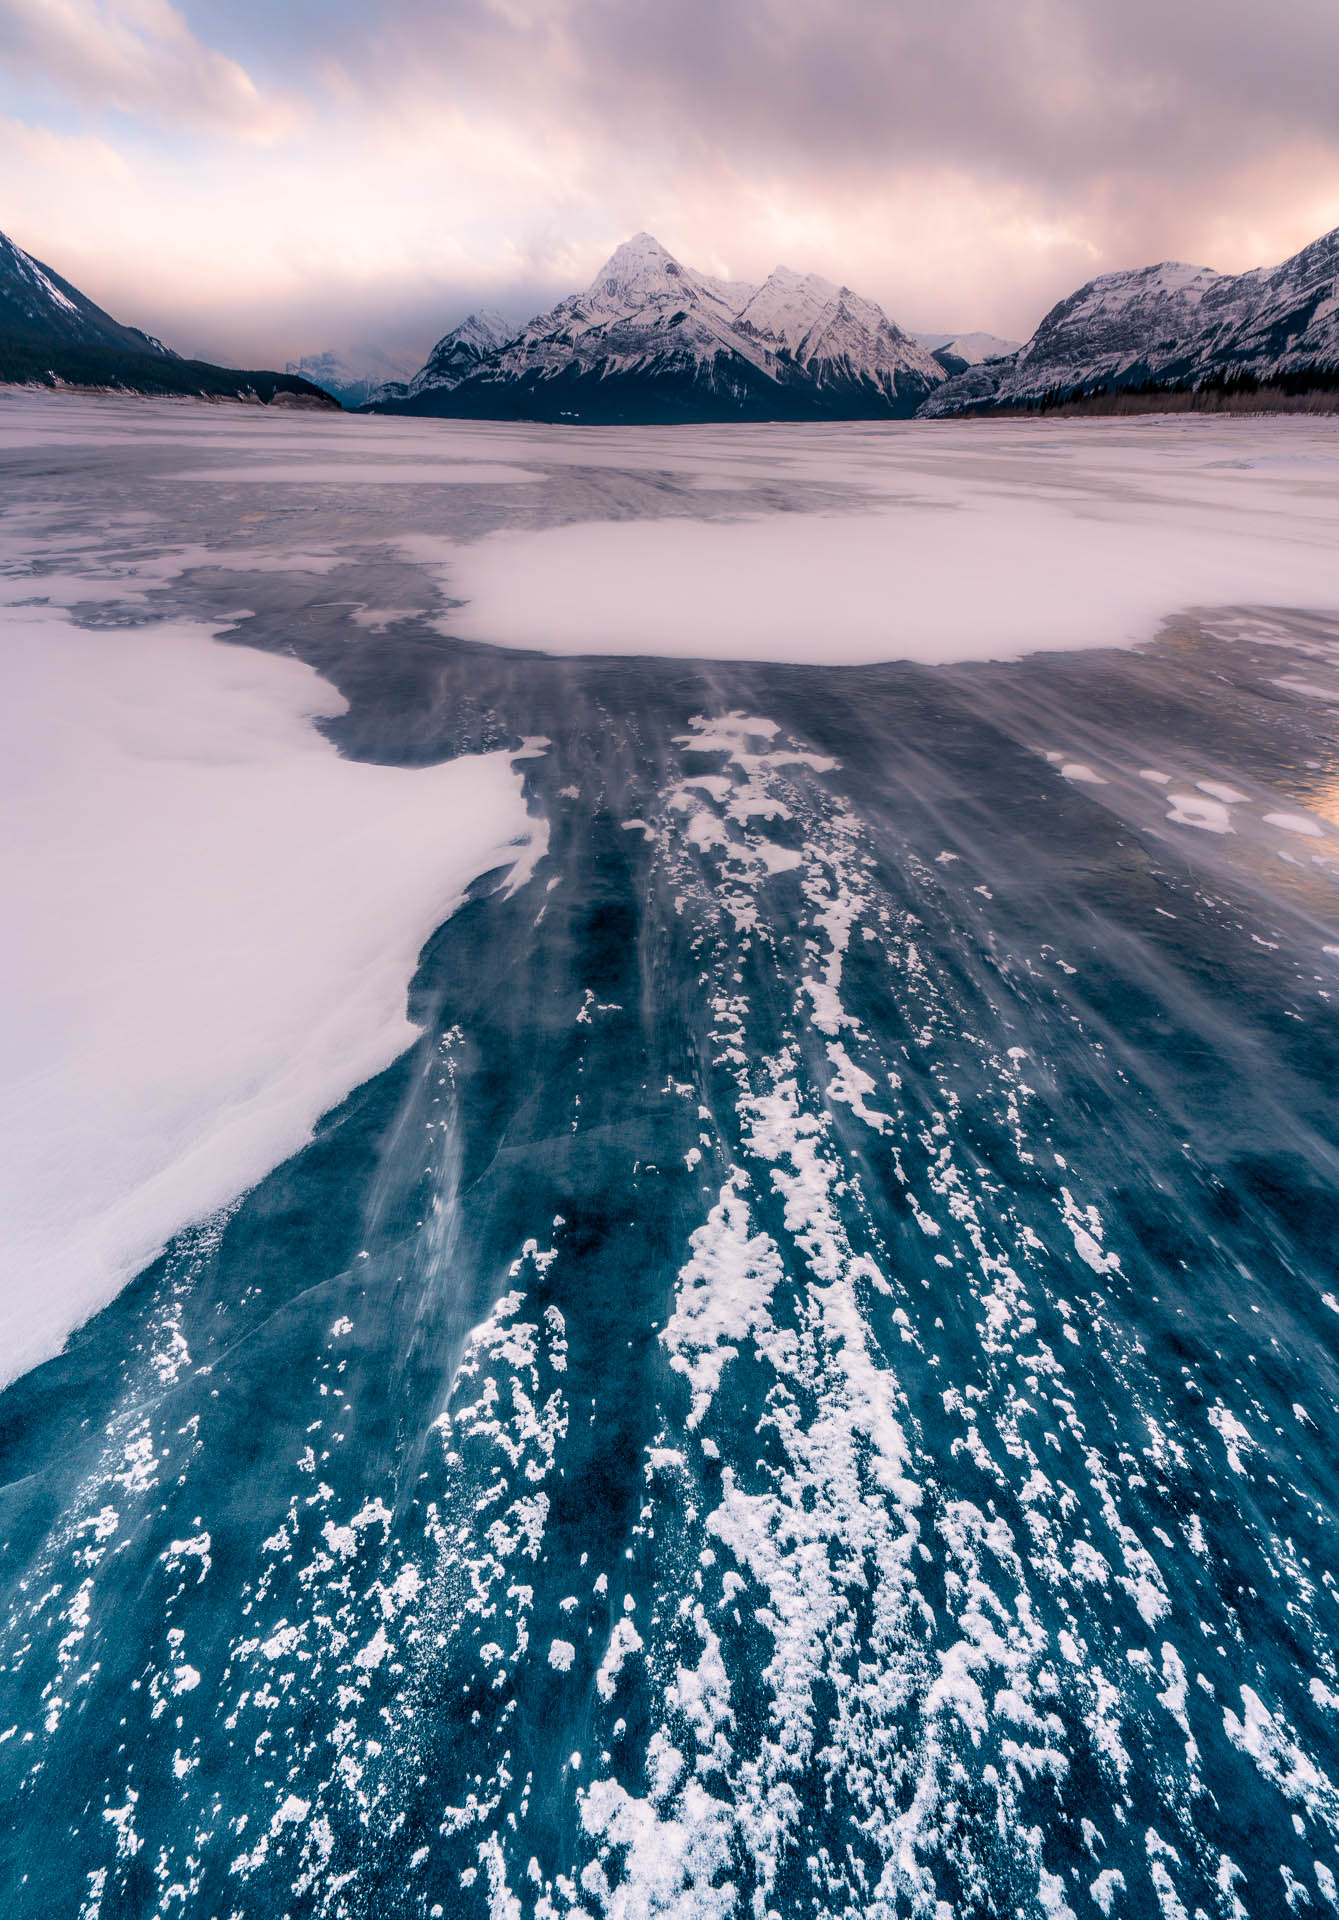
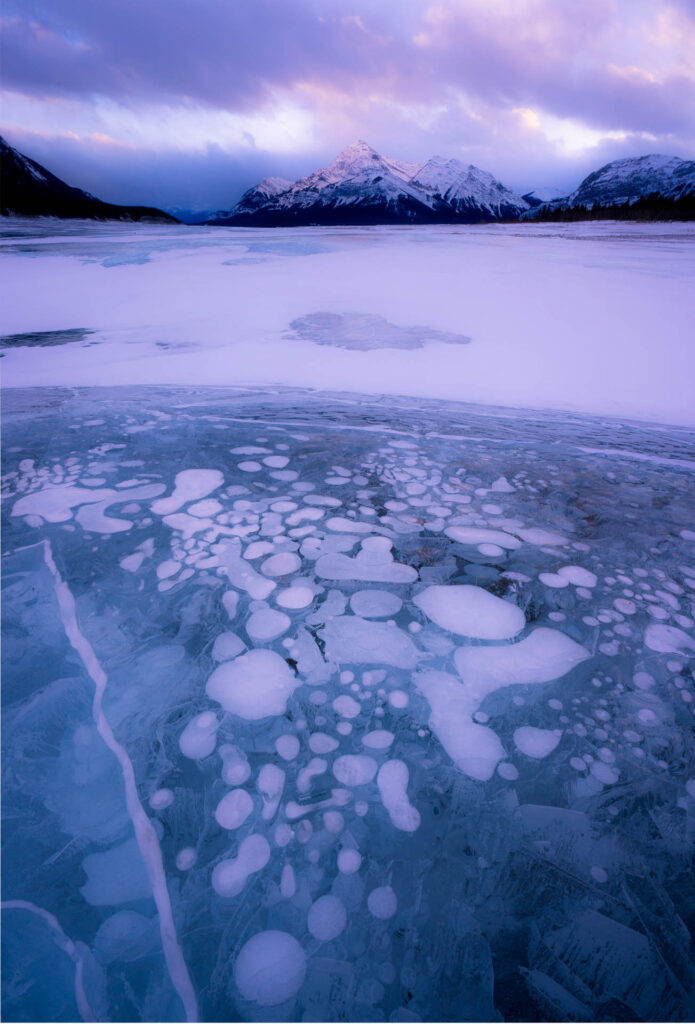
Abraham Lake is the most spectacular winter lake I have ever seen. During the depths of the the Canadian winter the lakes freeze and snow covers the landscape. If the conditions are right then beautiful methane bubbles (more well known as Ice Bubbles) and extreme ice formations can be found. The ice bubbles are really just spectacular and have been a joy for me to photograph. In this guide I’ll share some photography and travel tips to help you with your trip to Abraham Lake.
When to go
If you’re interested in seeing trapped methane bubbles and ice formations at Abraham Lake then the best time to go is late December to early February. It depends on a wide variety of factors such as how cold it is (the lake needs to freeze), snow fall, and whether the winter has had any warm days. Warm weather causes the ice to melt and refreeze which makes the ice opaque and hazy. If you go too early then the ice won’t be thick enough and you wouldn’t want to fall through and take a plunge in the cold waters!
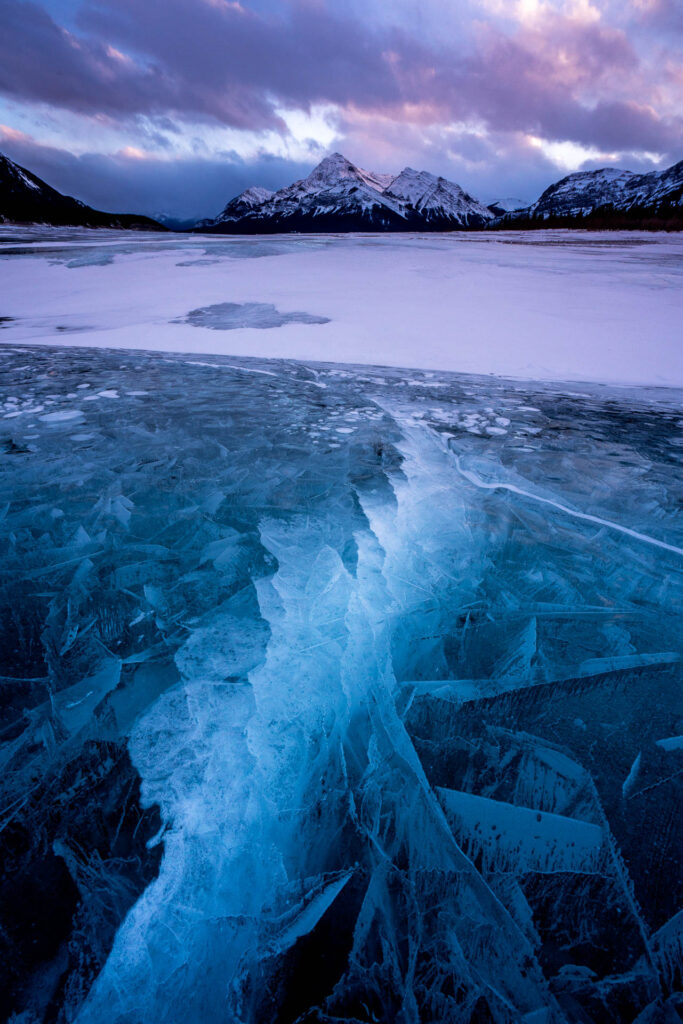
The nice thing is that even if the conditions for ice bubbles aren’t ideal, you’ll very likely still find many interesting patterns and formations of ice. These offer unique opportunities to photograph very crazy looking compositions.
I would recommend being flexible with travel if you can. If not then try to plan a longer trip (1 week at least) to give you a larger window to photograph and explore the lake.
How to get to Abraham Lake?
Abraham Lake can be accessed through highway 11. The most popular way to get there is usually to drive from Lake Louise. This drive is around 1.5 hours through the Icefields Parkway. This route is popular because you can stay at Lake Louise and explore the surrounding Banff and Yoho national parks. However, the Icefields Parkway is not regularly maintained in the winter and may be dangerous to travel on. Winter tires or snow chains are required and I would highly recommend you to have decent winter driving experience before hitting the road. Much of the road can be iced over and very rough, especially if you’re driving back to Lake Louise at night.
The other option is to come in from the east side via highway 11. This route is much easier to drive on and the road is generally in pretty good condition. There’s not much in terms of accommodation though. There are a few places to stay along the way in Nordegg and Rocky Mountain House.
Regardless of the route you take, I would recommend allowing adequate travel time. I like to get there during the afternoon to explore and look around. Usually if there are clouds in the sky the light is soft enough that you can start taking photos in the afternoon.
Preparing for Abraham Lake
Before you head out towards Abraham Lake, there are some things you should know and prepare.
- It can get extremely cold at Abraham Lake. Temperatures regularly drop below 0F (-18C) and if you factor in wind chill it gets even colder.
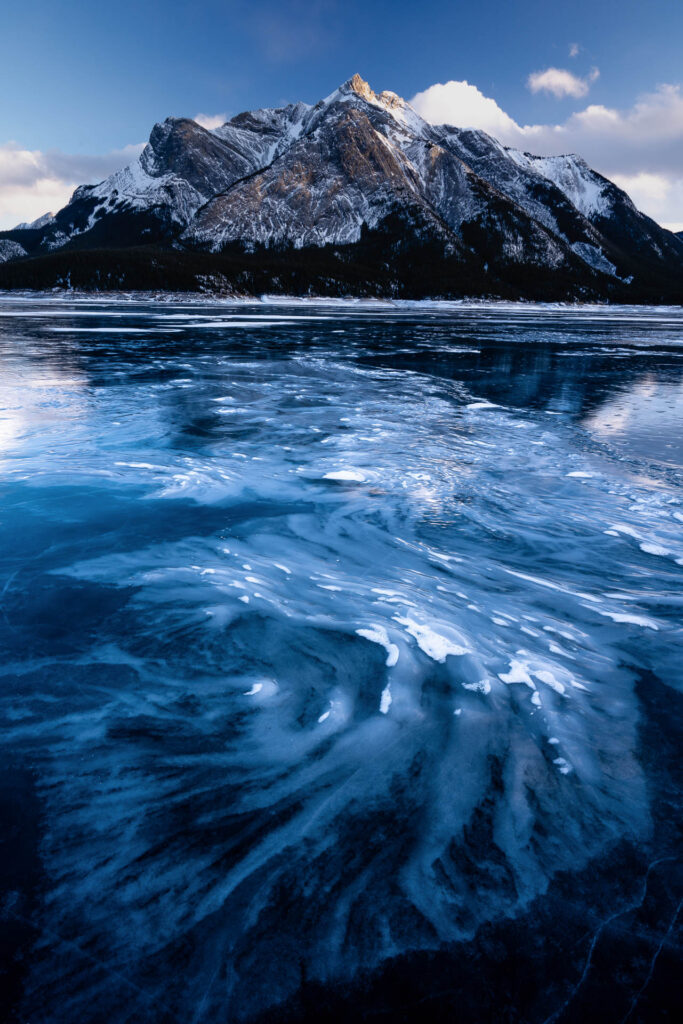
- It’s VERY windy at the lake. This is actually a good thing as much of the snow gets swept off the lake by the strong cross winds. While it’s great for photography, you should be prepared to deal with the wind chill.
- The ice is slippery (duh)! Bring some traction for your feet and tripod. I would recommend some aggressive microspikes, crampons are a bit overkill
- Hand warmers are a lifesaver here. I layer my gloves with a liner + mitt so my hands stay toasty and warm. But if you need to adjust some settings or something on the camera I take off the mitt, which leaves my hands feeling pretty cold.
- You get the odd look from people but I like to wear ski goggles here. The wind can really dry out your eyes and makes it hard to see.
Things to bring:
- Camera (Checkout my gear list here)
- Tripod
- Batteries (extra batteries, the cold depletes them faster)
- Insulated winter pants (helpful to stay warm, lay on the ice and snow, etc)
- Warm gloves
- Winter jacket and shell
- Warm beanie, hat, something to keep your head warm
- Traction for your boots (microspikes)
- [Optional] Ski Goggles
- [Recommended] Hot drinks, even better, bring a stove to brew fresh coffee!
Where to find Ice Bubbles at Abraham Lake
Ice bubbles can be found throughout the lake but there are a few popular spots (easy to access).
If you’re coming from Lake Louise then the closest spot would be Preachers Point. Further east are two more great spots, Belly of Abraham and Hoodoo Creek. These two are roadside access points, so you can just park your car and walk down to the lake. Another popular spot is Windy Point.
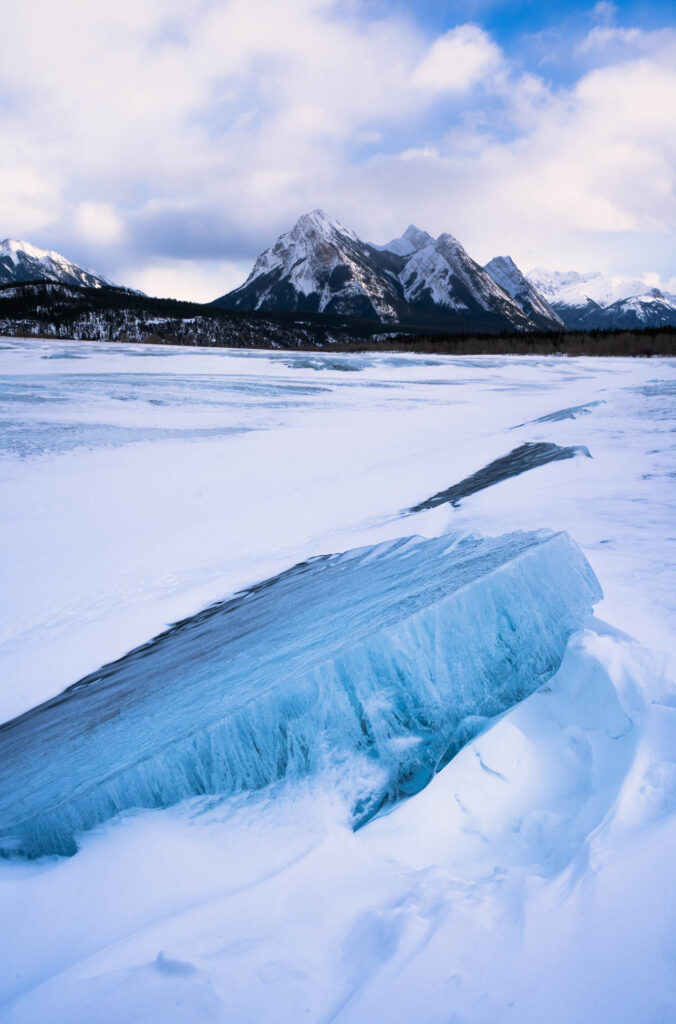
One thing to consider is that each of these viewpoints offer different perspectives on the surrounding mountains, so you’ll be able to shoot different subjects at each location.
I would suggest checking out each of the spots and pick one depending on the cloud coverage and conditions during your visit.
Tips for getting your perfect shot
This wouldn’t be a “photography guide” to Abraham Lake without pictures and tips right?
Come Prepared! Seriously. Before you start thinking about taking pictures make sure you have the right clothing and gear to stay warm and safe! Check out the preparation and packing list.
Try different angles. Getting low to the ground can really exaggerate the ground features of the ice and make them seem much larger.
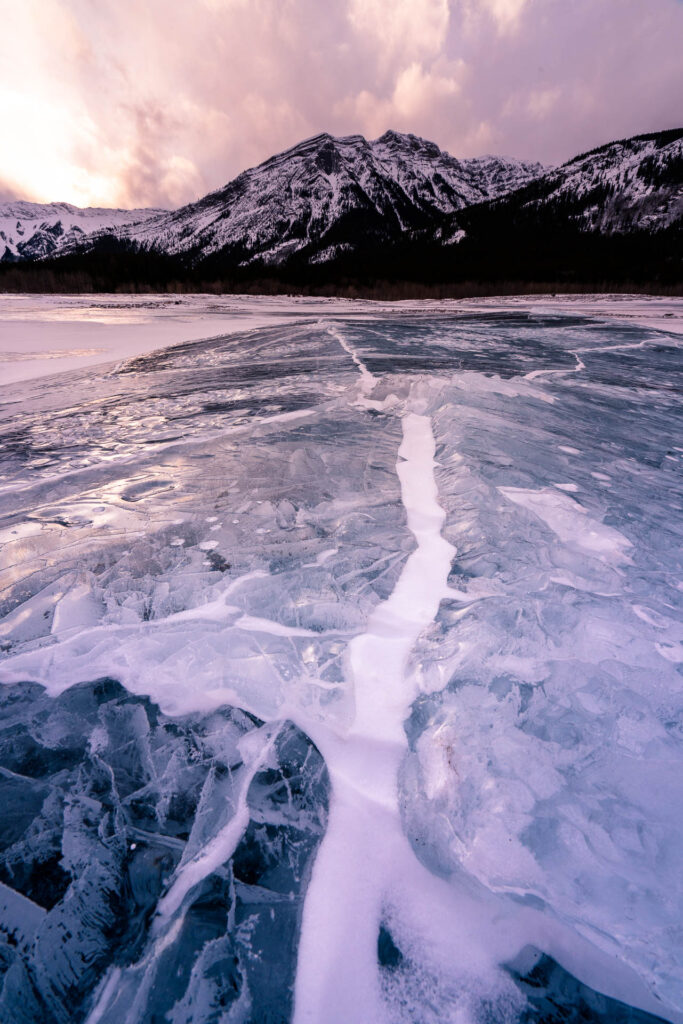
Experiment with different lenses. I liked the ultra wide angles here. Something like 16mm really distorted things near the lens and made the features and contrast seem more extreme.
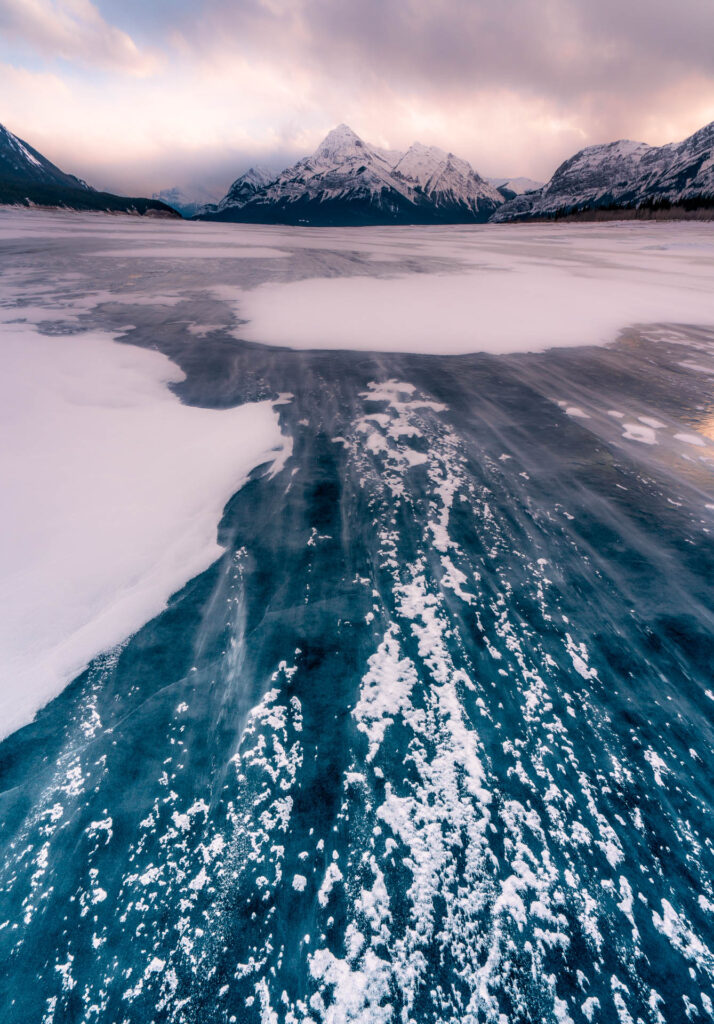
Explore different areas of the lake. Abraham Lake is huge and don’t limit yourself to just walking around the viewing points. Different parts of the lake will have different conditions. For my recent trip the area around Preachers Point didn’t have many bubbles or interesting ice formations but further east towards Windy Point resulted in much clearer ice.
Leave the polarizer off! I know it might feel instinctive to throw on your polarizer but I found that having it off lets you get extra “pop” in the ice and bubbles. But as always, try it out and see for yourself to find out what you prefer.
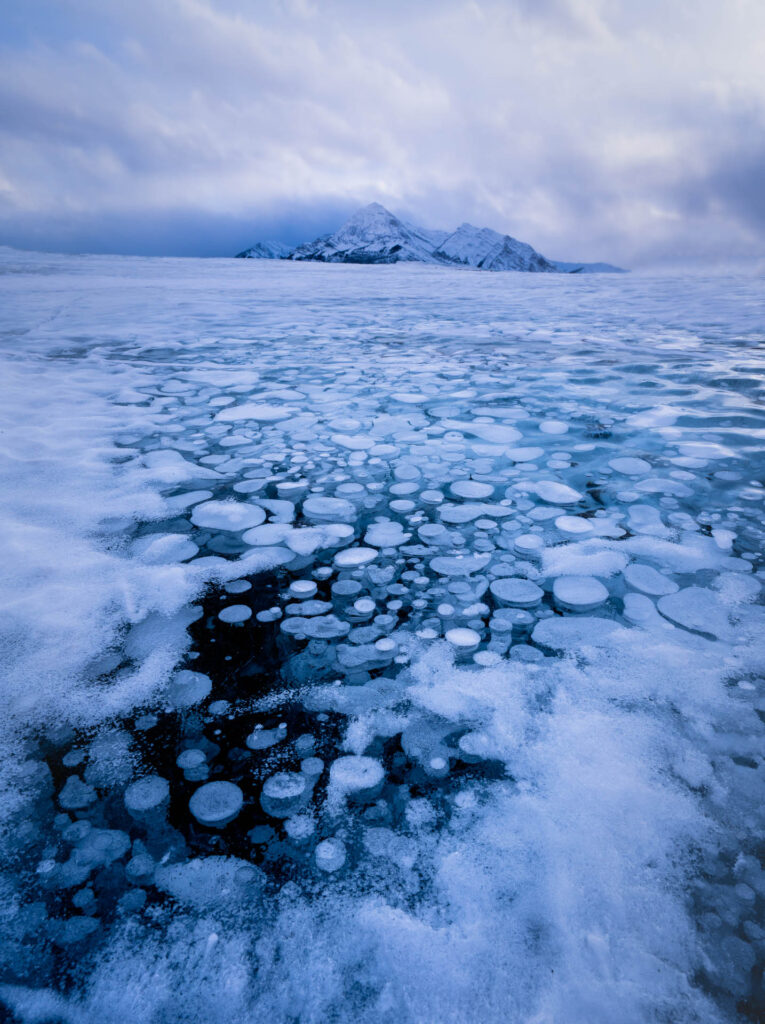
Spend as much time there as possible! Seriously, time flies when you’re here. If you’re reading this guide you must be a big fan of these bubbles and ice formations so spend as much time as you can. Sunrise, sunset, at night. Pretty much all the time you can get! The conditions are ever changing here and you can take so many different compositions.
Conclusion
I hope you’re as excited to visit Abraham Lake as I always am! I just love these ice bubbles and ice formations, the cold doesn’t even bother me one bit. It’s truly one of the most enjoyable photography experiences I have ever had.
If you have any questions feel free to drop a comment below or connect with me on Instagram (@xjjon). Let me know if this little “Photography Guide” to Abraham Lake has been helpful and share your photos with me!
Gallery
Jonathan
Hey there, I’m Jon! I love landscape photography which is why I travel all the time! On my blog I’ll share all the best spots for epic sunsets and sunrises as well as some photography tips and tricks. I also have a interest in game design so you’ll find the occasional post about that too. Thanks for visiting!
Abraham Lake sounds like a stunning winter destination with its frozen landscapes, methane bubbles, and unique ice formations.