Quickly Improve Unity Terrain Textures With MicroSplat
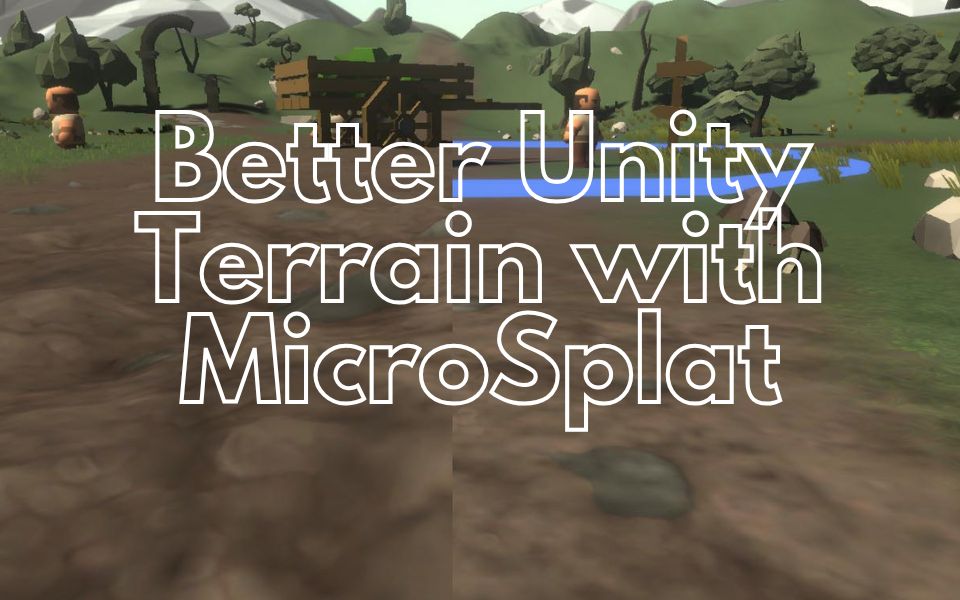
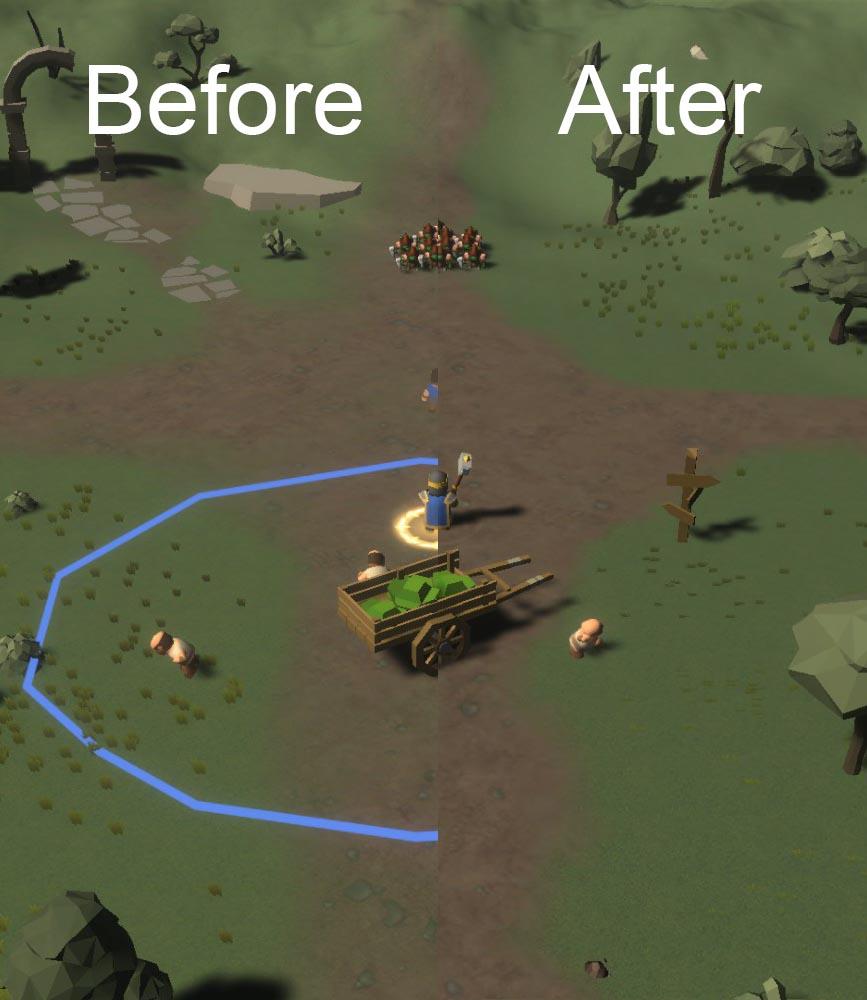
The terrain system in Unity is easy to learn and use but is awfully dated in terms of features and visually needs a lot of work to look great. I’m no expert in Unity Terrain but I’ve been working on a new game that uses the Terrain system and haven’t been happy with how the textures look, specifically with how different textures blend when painted. Unity uses a linear blend between textures so it looks very blurry. With MicroSplat, it uses height maps to blend between textures giving a much more well defined blend. There are many other features with MicroSplat as well (such as tessellation, anti-tiling, terrain blending, support for tracks and snow, and many more).
MicroSplat is actually available for FREE and is very powerful with just the free version. The paid additions unlock additional features in the shader.
If you’re interested in the addons, the bundle is also a great way to save money.
Getting Started
First, grab MicroSplat from the Unity Asset Store or directly from their GitHub repository. It’s super simple to setup but I’ll go over the basics. After importing, you’ll need to convert your terrain to use MicroSplat:
- Select your terrain component
- Add the MicroSplatTerrain component
- Click “Convert Terrain”
- Converting will have created a new folder MicroSplatData (feel free to rename it). There will be a MicroSplat material inside the folder.
- This material contains all the customization you need to do to setup MicroSplat. If you converted an existing Terrain, then the textures you have setup there will automatically be added to the Texture Array. This can be seen in the
Arraytab of your material. - Populate the Texture Array and set the values for the diffuse, normal map, height map, and smoothness.
- Hit update – this will automatically sync your Terrain component with your new layers.
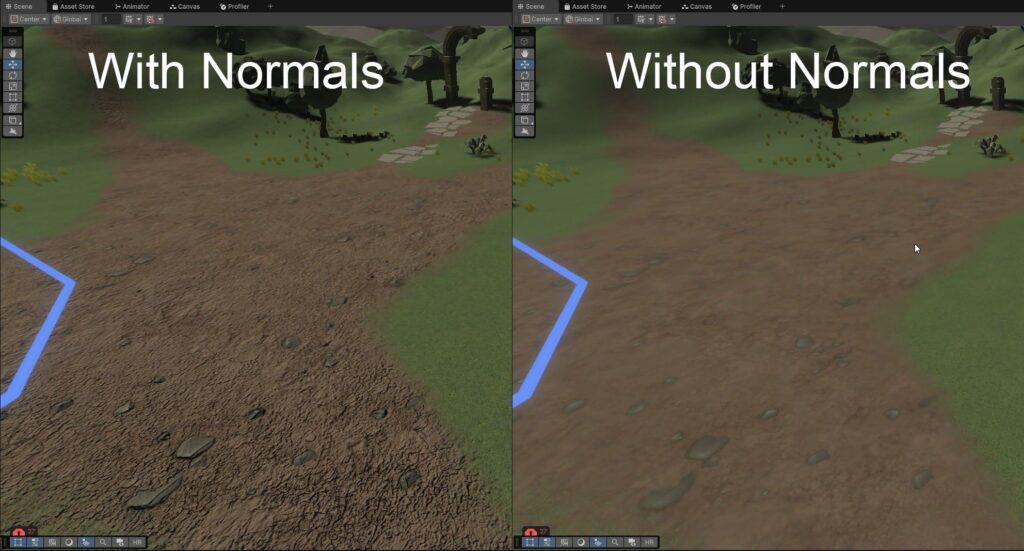
Another screenshot to show how powerful the shader is. It generated these normal maps for me even though I didn’t provide it. I disabled it for my game though as it’s a low poly / simple shaded game. You can see how much more detail it adds to the road.
There’s a huge list of additional features that are too vast to go over in this post (many of them I haven’t even used). But Tessellation is a cool one that adds displacement / depth to the terrain.
Tessellation
It just takes one click to enable it in the material. It uses the height map of your texture to do the tessellation, so the higher quality your height map, the better the results.
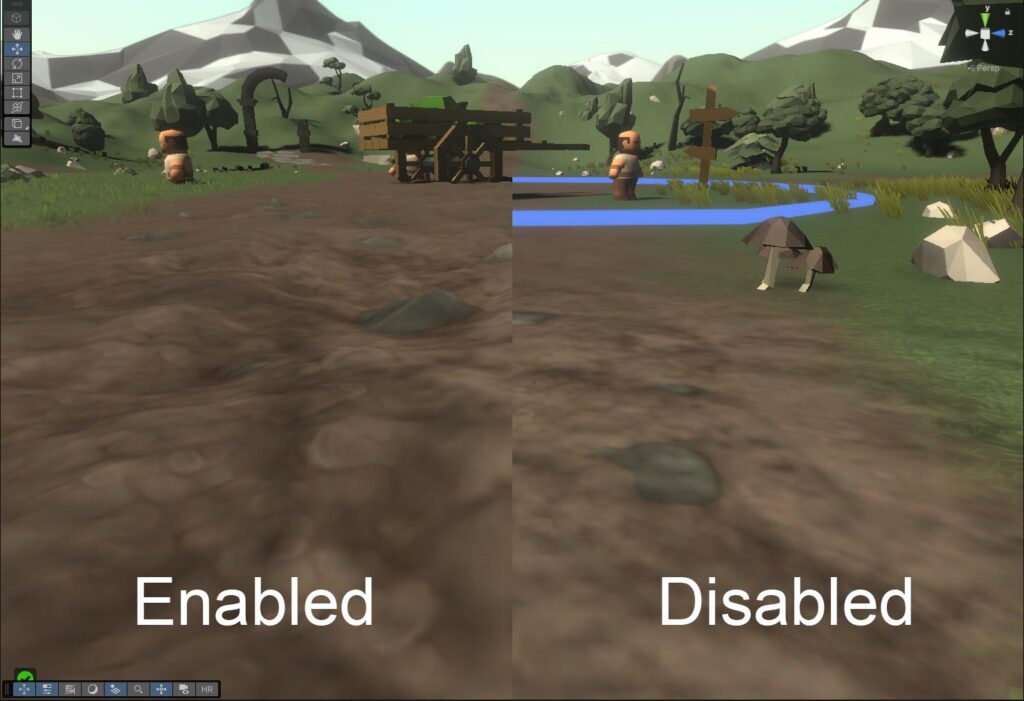
As you can see, it adds displacement to the road and makes the stones in it look as if there is depth to them!
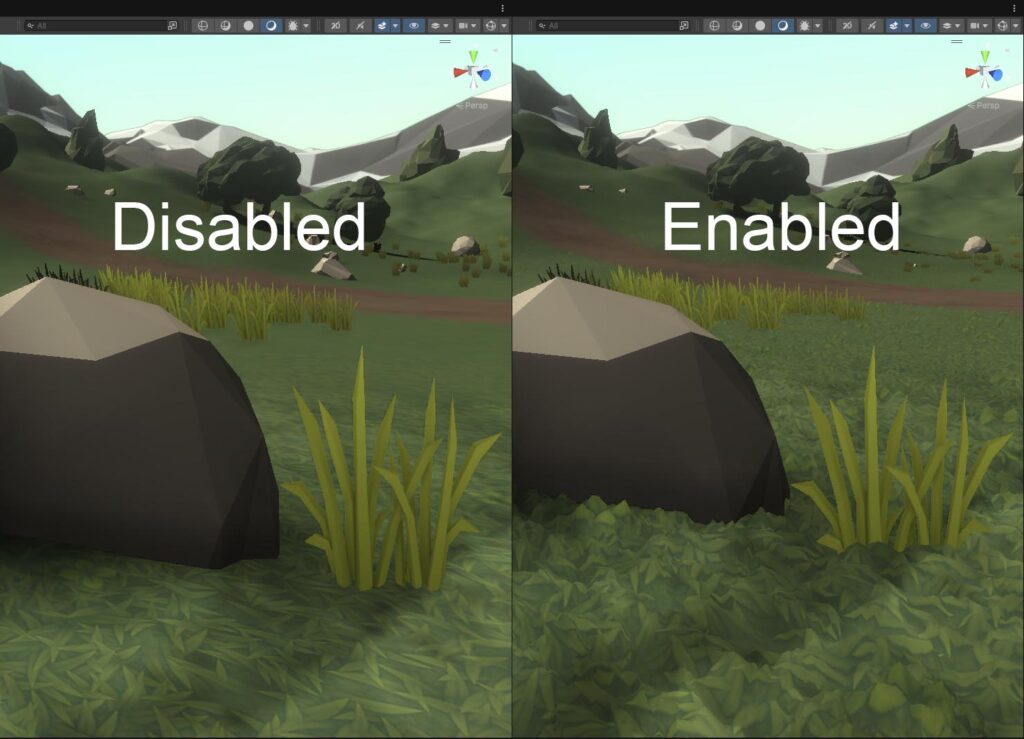
I think it improves the visuals of props and doodads in the scenes too as the ground texture blends better.
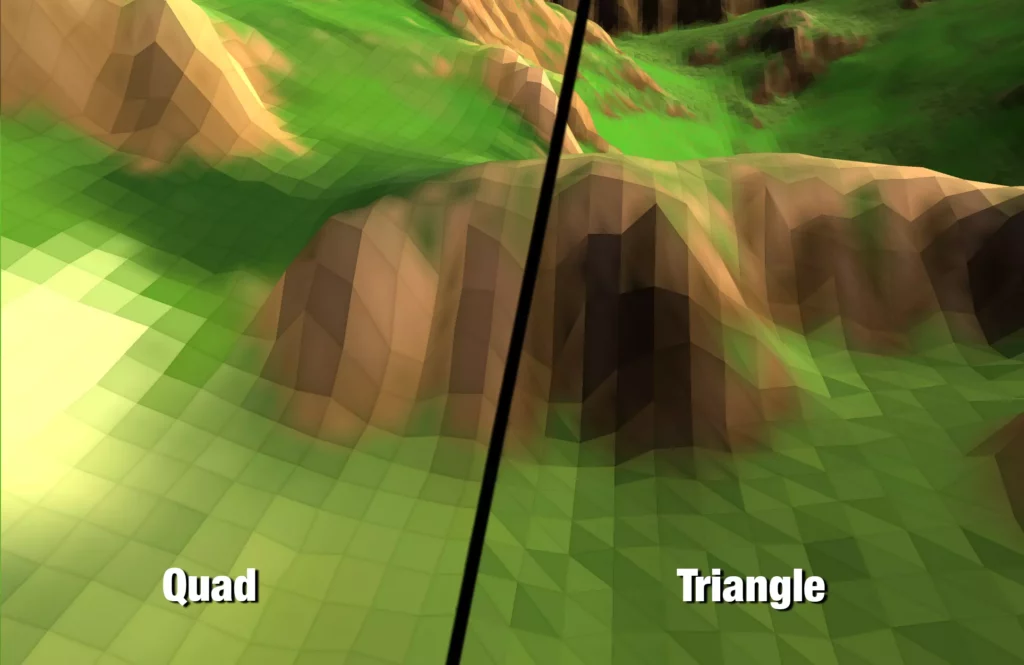
There’s an addon for easy low-poly style terrain as well:
Conclusion
MicroSplat is a great improvement over the Unity terrain shaders and is very easy to setup and use. It took less than 10 minutes to setup and the addons make it a very powerful terrain shader. If you’re making a game using Unity Terrain I highly recommend it!
Looking to boost your productivity? Check out my post on the best tools for staying organized and productive in game dev!
Jonathan
Hey there, I’m Jon! I love landscape photography which is why I travel all the time! On my blog I’ll share all the best spots for epic sunsets and sunrises as well as some photography tips and tricks. I also have a interest in game design so you’ll find the occasional post about that too. Thanks for visiting!
